
6 Crucial Steps for Post-Ride Dirt Bike Maintenance
If you’ve invested in a dirt bike and enjoy riding it, it’s absolutely crucial that you care for it after each ride to keep it in good shape and to help avoid potentially dangerous problems.
This 6-step guide is a list of products and instruction, but also includes some handy tips. Whether you’re a new dirt bike owner, or a current rider always looking for solid tips, this post is for you!
So, you’ve just rolled in after a long day of dirty riding, and now it’s time to take care of business. Here is your 6-step routine for post-ride dirt bike maintenance:
1. START WITH CHAIN CLEANER
Dirt accelerates the breakdown of metal, so cleaning dirt off the chain is super important.
Spray the chain cleaner on the chain, let it sit for a few minutes.
Take a chain cleaner brush and scrub the chain.

While you’re looking at it, check out the chain and evaluate whether it needs to be tightened. Better to notice now than during your next ride! Then, move on to washing….
2. SPRAY THE BIKE WITH SIMPLE GREEN & WATER
Obviously if the bike has a lot of dirt or mud on it, you’ll want to give it a rinse first and knock as much dirt off as you can. Then get to cleaning with the Simple Green. Simple Green is an inexpensive, bio-degradable cleaner that works great.
Dilute the Simple Green (50% Water, 50% Simple Green). Spray it on the bike.
Let it sit a few minutes. You can also scrub areas that need it, like under the rear fender, pipes, etc.
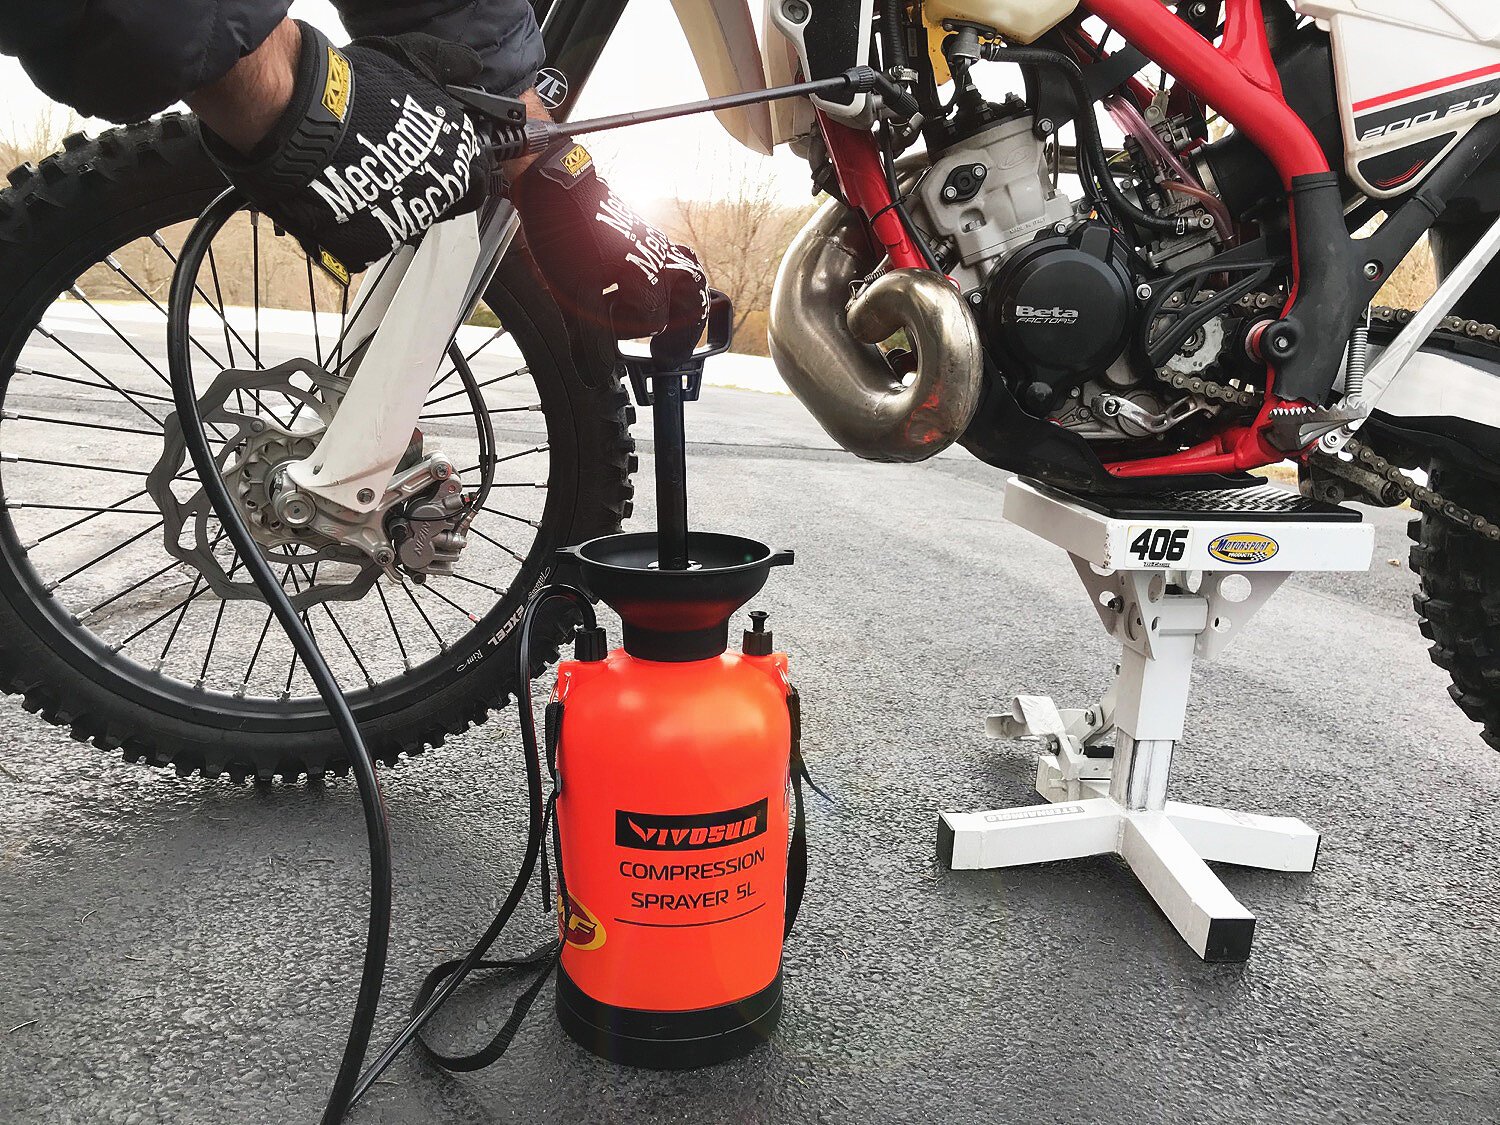
TIP! Use a 2 Gal gardening spray pump (You can get one like what’s shown for $20-30 at any home improvement or gardening store). A pump like this is a great way to keep the diluted Simple Green ready for use, and it’s easier than the standard hand-cramping action of a basic spray bottle. All you do is pump it up to build pressure and spray it all over the bike.
3. RINSE AND DRY
Rinse all the cleaner off with water ideally using a power-washer, otherwise a hose.
Work from top to bottom, ensuring you get in and under fenders, plastics and parts.
Dry with rags., but also wipe in all spots to continue taking dirt off the bike. (If it’s super dirty still you might want to re-wash)
While you’re drying, give the entire bike a look over. Look for damage, loose or missing bolts, or for anything twisted or out of place. Know your bike!
TIP! If you’re using a power-washer, hitting the edges of stickers and graphics on an angle with a harsh blast of water can make them peel or blow off. Aim at them straight on to avoid this.
4. SPRAY IT WITH WD-40
WD stands for “water deterrent” and it’s a must-have product for preserving the life of your dirt bike. WD-40 is a multi-use product that takes water off all metal parts, keeps them from rusting, keeps bolts from getting stuck on and generally lubricates.
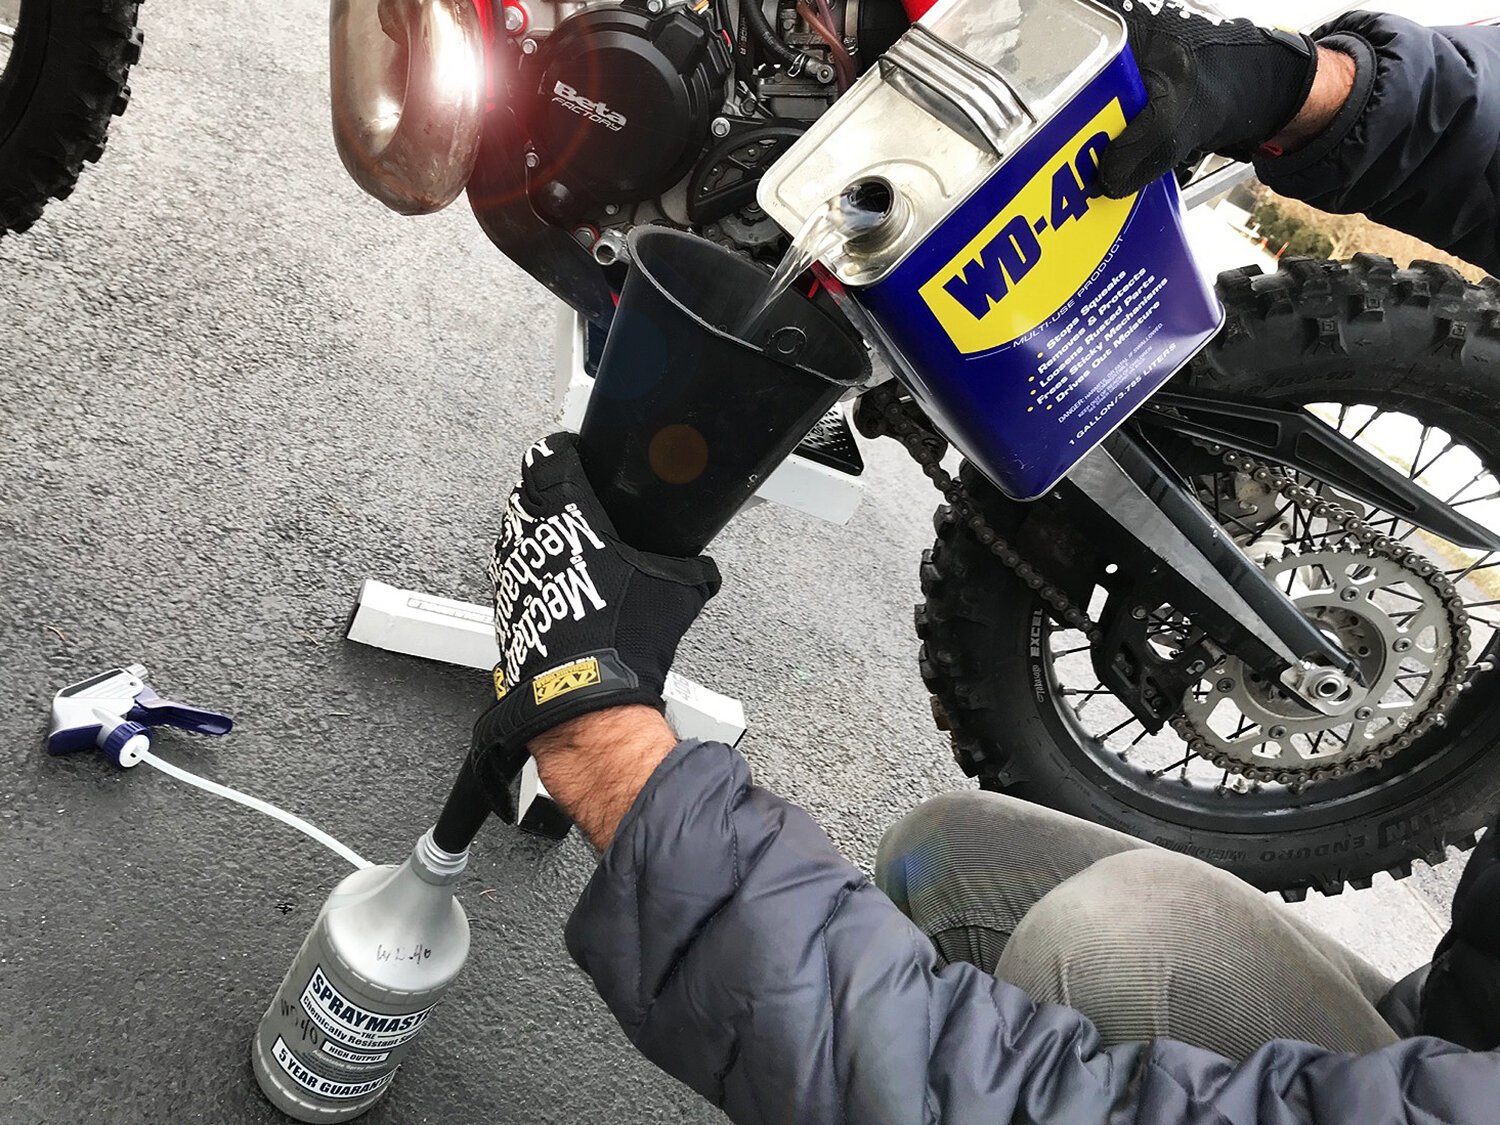
TIP! Purchase WD-40 in the gallon containers and purchase a heavy-duty spray bottle for spraying it on the bike. Here are a few reasons why:
The standard cans of WD-40 shoot the product out in a thin stream. Typically you’ll end up applying too much in small places or using up the can trying to aim and cover all parts with the tiny stream that comes out. Using a spray bottle allows you to apply it as a wide mist, blanketing more of the surface and wasting less of the product.
A heavy-duty spray bottle is necessary because an average spray bottle will get suctioned in by the effect of the WD-40. You’ll need a thicker spray bottle to avoid this. In the photo above, we are using the Spray Master.
Most importantly: You’ll likely use a lot of WD-40, so why not buy in bulk?
Whether you use the standard can, or a heavy spray bottle, here’s what you do next:
Apply WD-40 to ALL metal parts EXCEPT FOR BRAKE ROTORS. (You don’t want slippery brake rotors)
Ensure it gets into little holes, grooves, anywhere moisture can collect on metal - like the tops of screws and bolts ;)
At any time you can use it to give the bike a little rub down, to clean off oxidation or water stains from the muffler for example.
Note: In case you didn’t know, WD-40 will burn off the engine and pipes the next time you start the bike up, sending off some smoke. That’s normal, and I personally love the smell of it!
5. APPLY A PLASTICS PROTECTANT
WD-40 is great for protecting metal, but to keep your plastics in good shape use something like Maxima SC1. This will help keep mud and dirt from sticking and help keep the plastics looking new. It also smells delicious! Simply spray and wipe it with a soft rag.
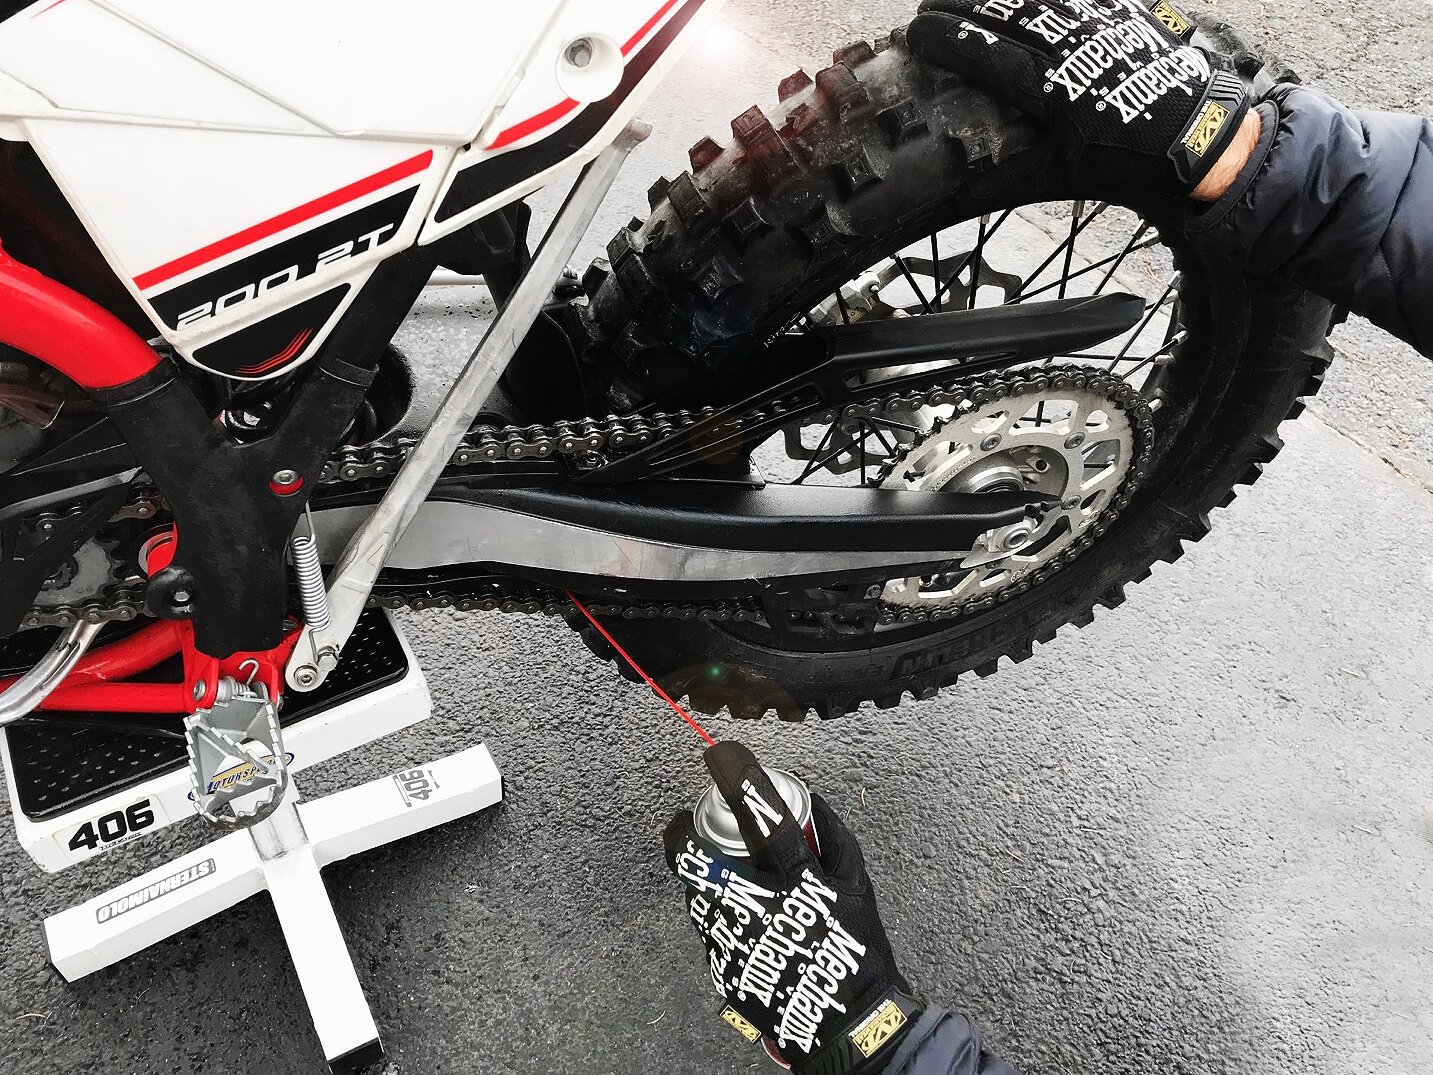
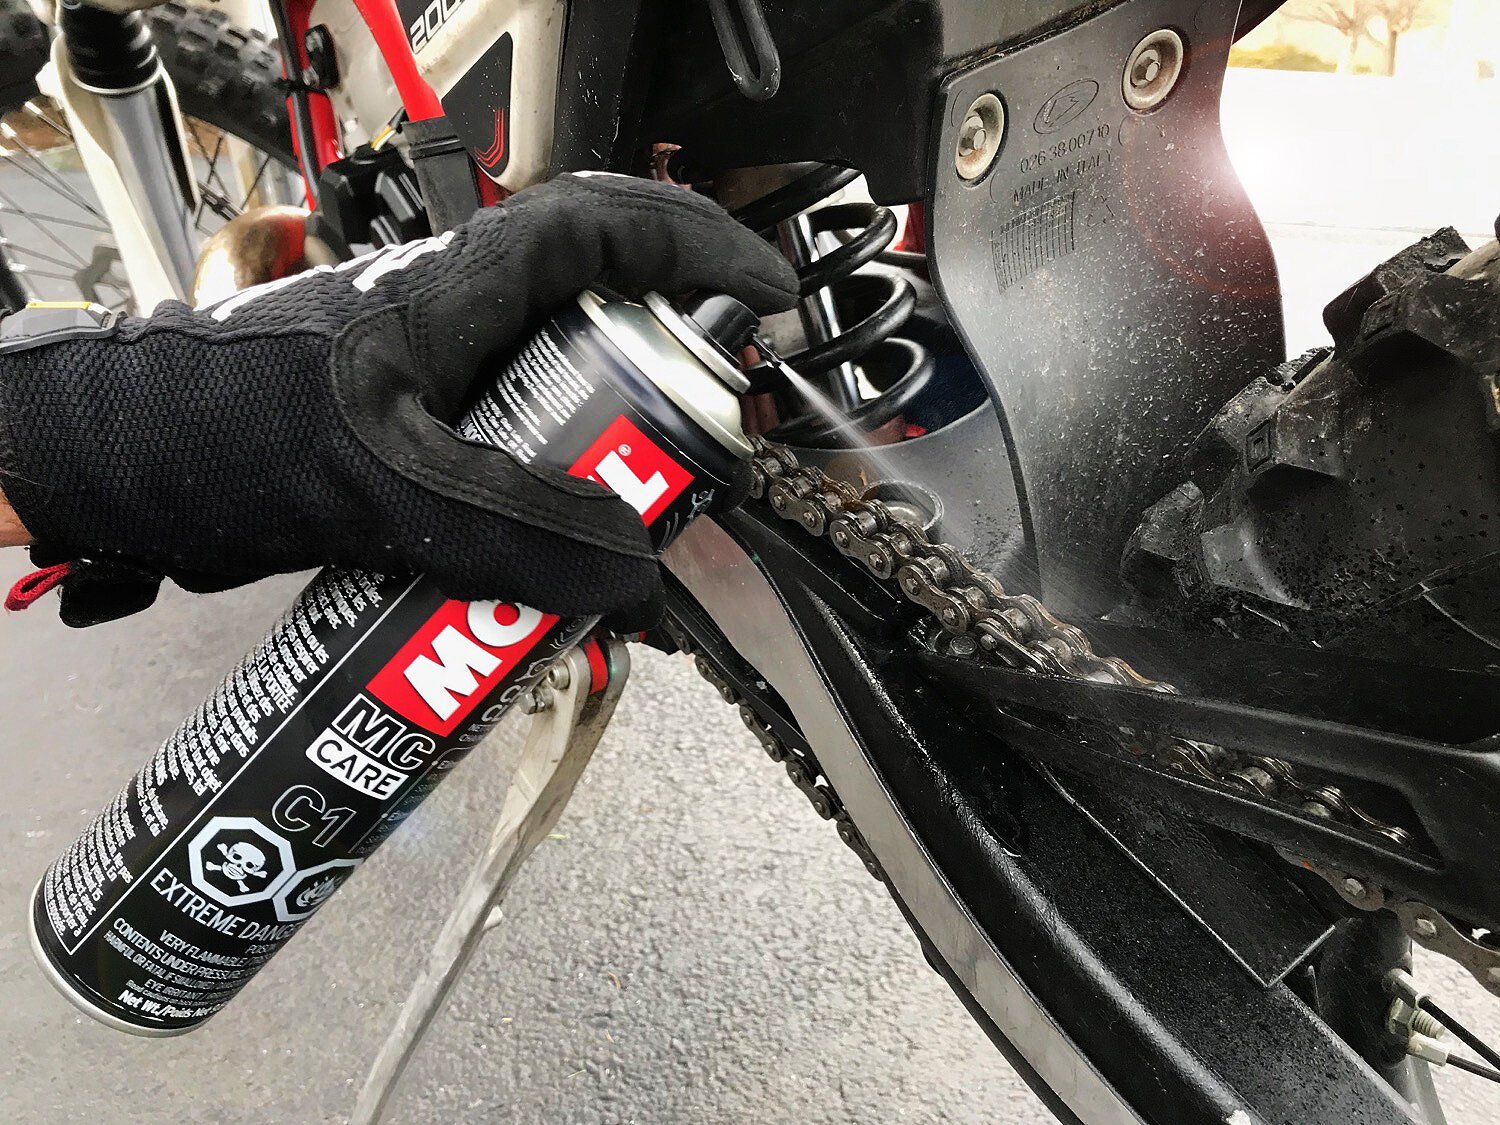
6. FINISH IT UP WITH A ROUND OF CHAIN LUBE
Chain lube is crucial for decreasing overall friction and chain wear. The best way to apply chain lube is to put your bike up on a good bike stand and:
Hold the sprayer just below your swing arm so it releases the lube onto the chain.
Rather than moving the spray can around, hold your hand still and just rotate your wheel, letting the chain rotate through and get fully covered with the lube.

This is the essential routine your should do after every dirt ride. Here’s a concise shopping list of everything we mentioned above!
SHOPPING LIST
Simple Green
Heavy Duty Spray Bottle Like the Spray Master
Having these items and keeping to this routine will make it super easy to keep your bike in prime condition (OR prime re-sale value!) Protect what you love and value and it will serve you well.